1. Setting Up Instructions
This page contains instructions for setting up and working locally.
1.1. Prerequisites
Section titled “1.1. Prerequisites”- Java JDK 17
- Gradle 8.8
- VSCode
- Your assignment-ii repository (which we’ll presume you’ll be okay with cloning and managing)
For any other setup, see the course website setup page.
1.2. How to open?
Section titled “1.2. How to open?”- You can open vscode and then go File -> Open (/Folder on MacOS) and select the folder assignment-ii that you’ve cloned locally. Make sure you have just the assignment-ii folder opened.
- To open in VSCode:
code assignment-ii(if working locally)2511 code assignment-ii(if working on CSE machines)
1.3. How to run?
Section titled “1.3. How to run?”Firstly guarantee that the folder that you have opened is correct. Ensure that the name at the top of your explorer says assignment-ii - if it doesn’t you don’t have the right folder opened :)
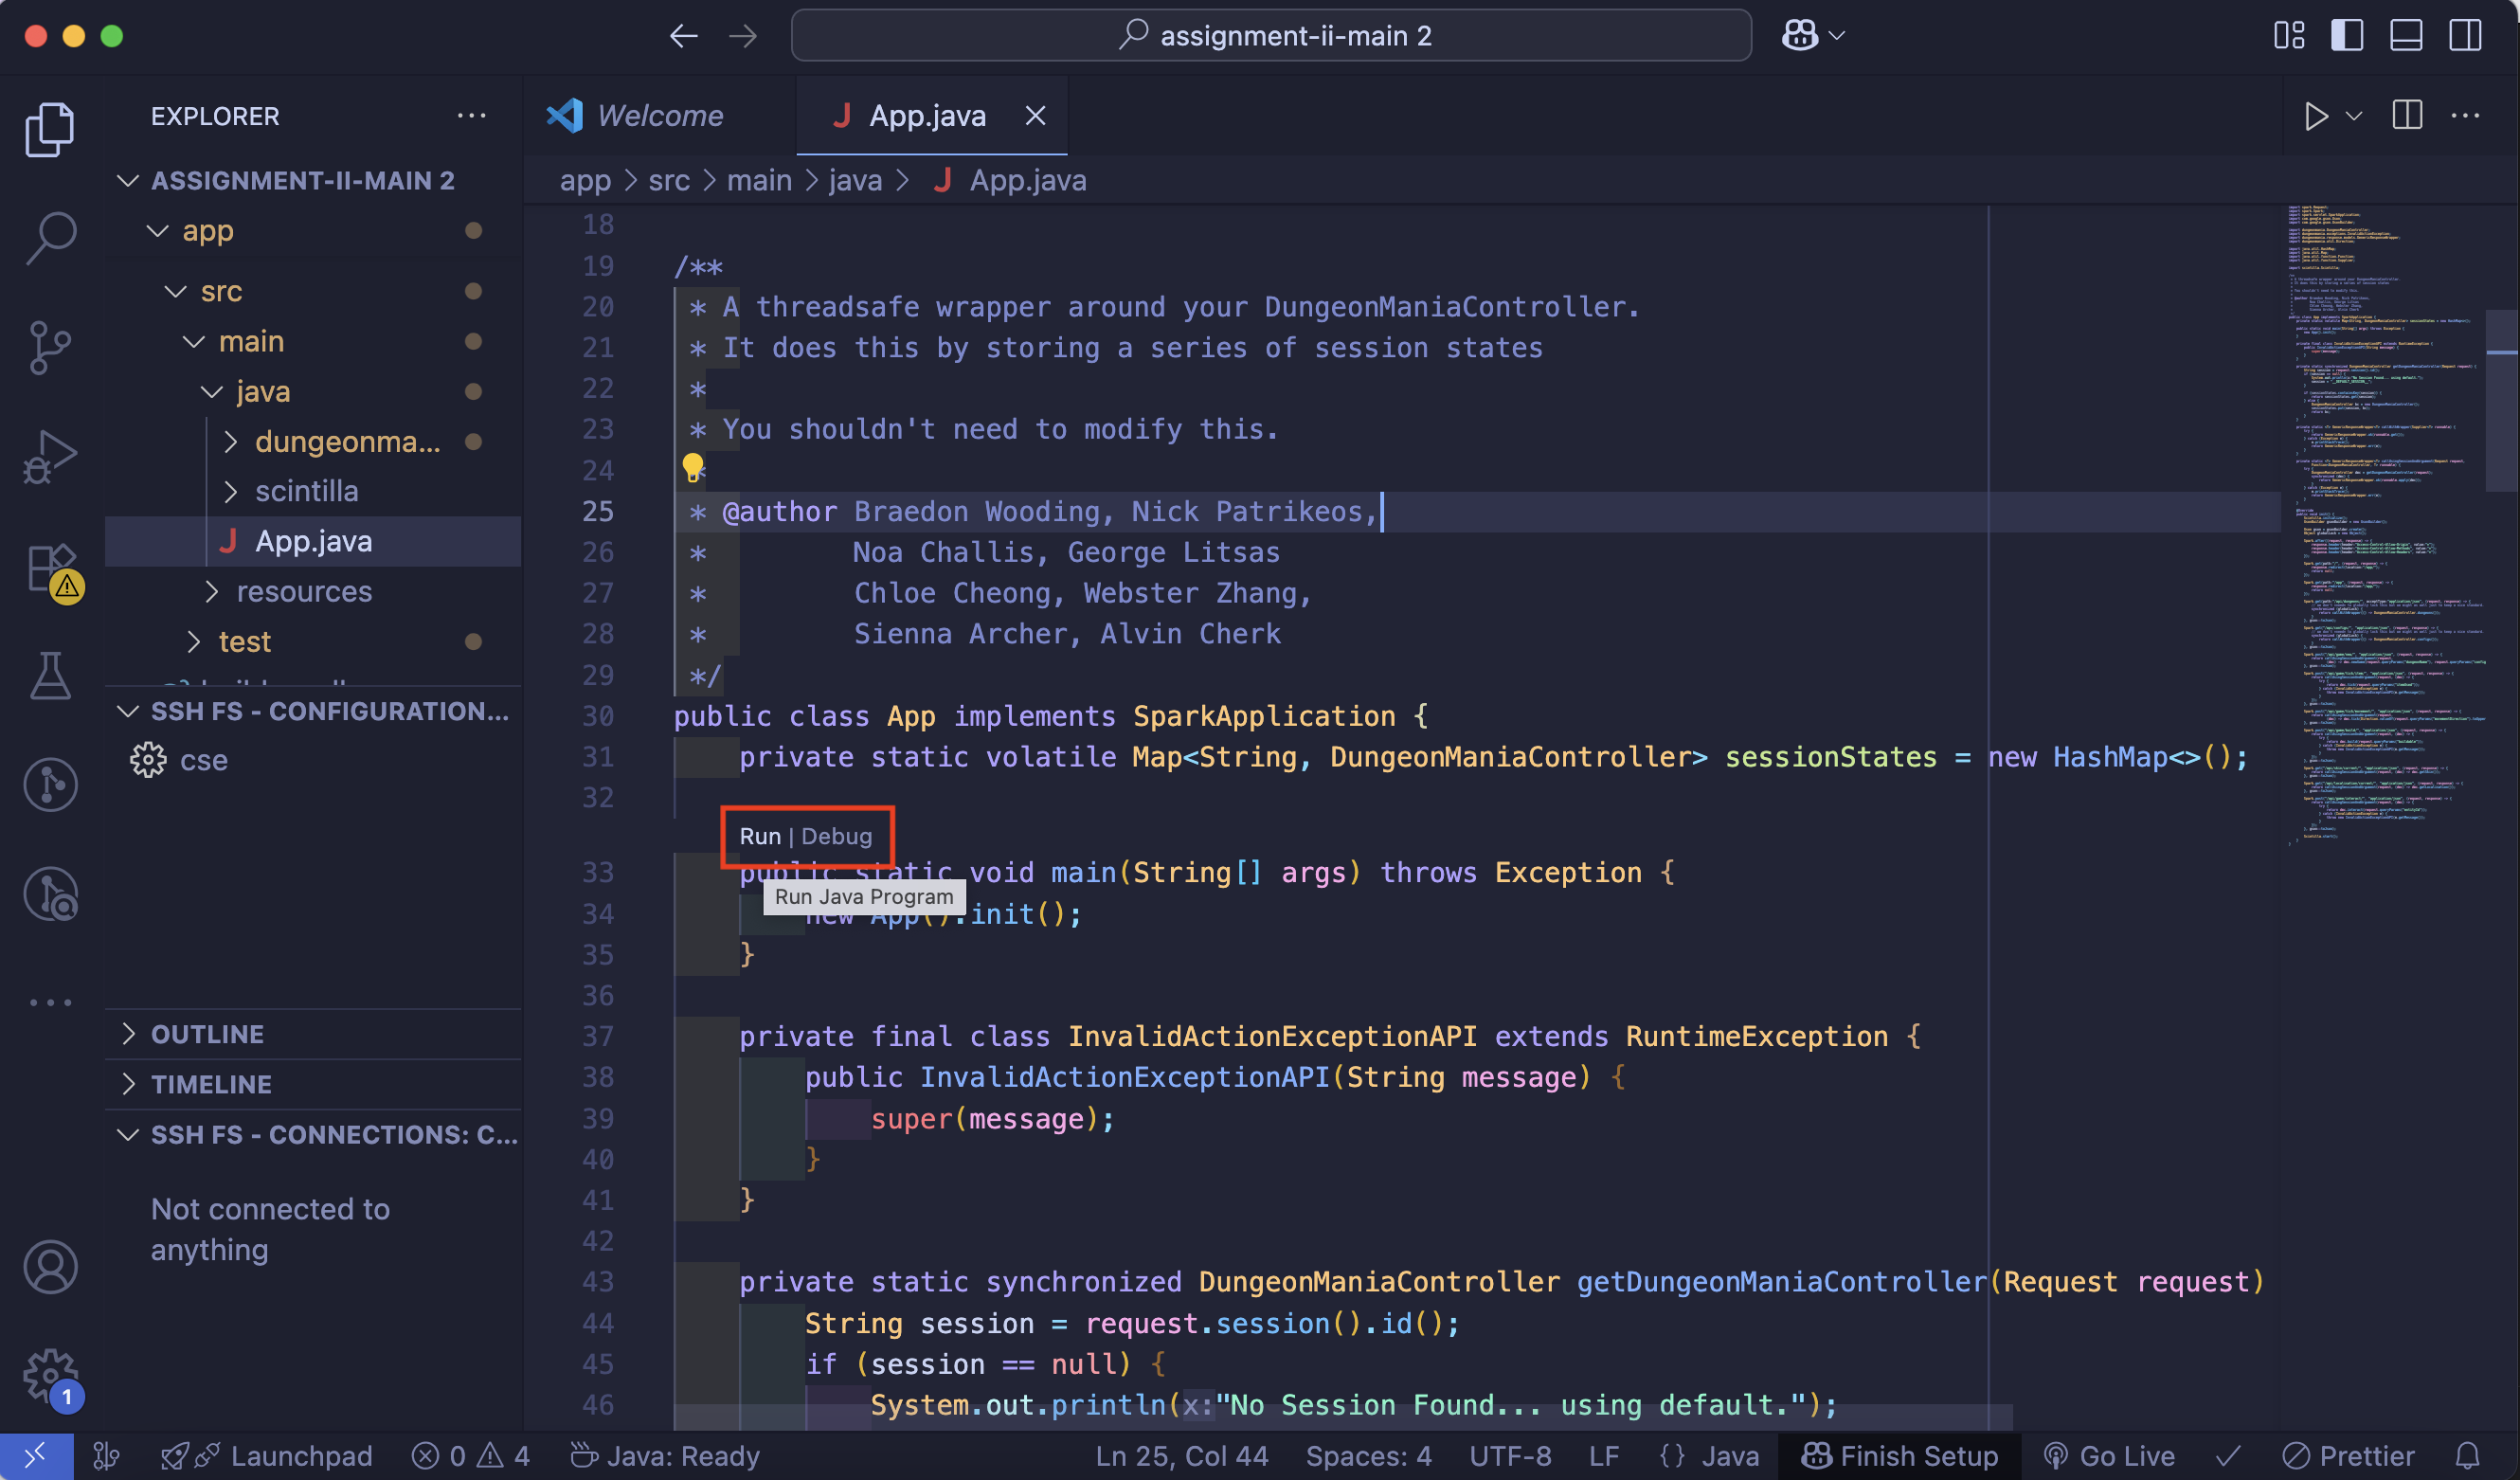
Next, just locate the App.java file and click the run button on that file.
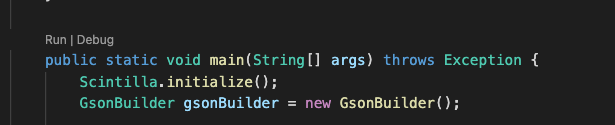
This will then synchronise your frontend with the current latest version and once that’s done (should be very quick) it’ll start the server.
1.4. How to generate coverage reports?
Section titled “1.4. How to generate coverage reports?”You can generate coverage reports through the use of gradle coverage. This will generate both human readable ones (html) as well as more computer readable ones (xml) which an extension can read and show you inline coverage.
You can see inline coverage reports via Coverage Gutters which is a VSCode extension. An example of this is shown below.
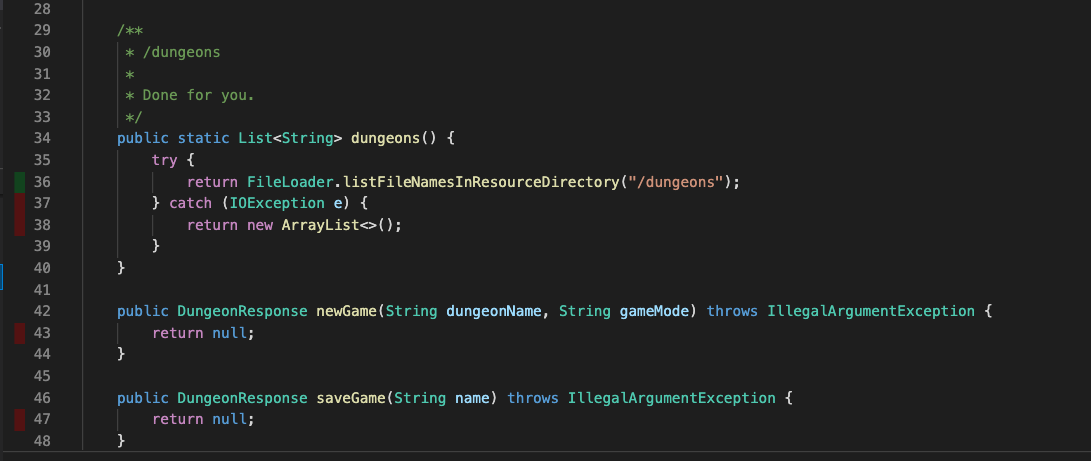
If they aren’t showing up for you make sure that the bottom left “Coverage” button is showing something like X% coverage (just informs about current opened file). If it isn’t just click it!
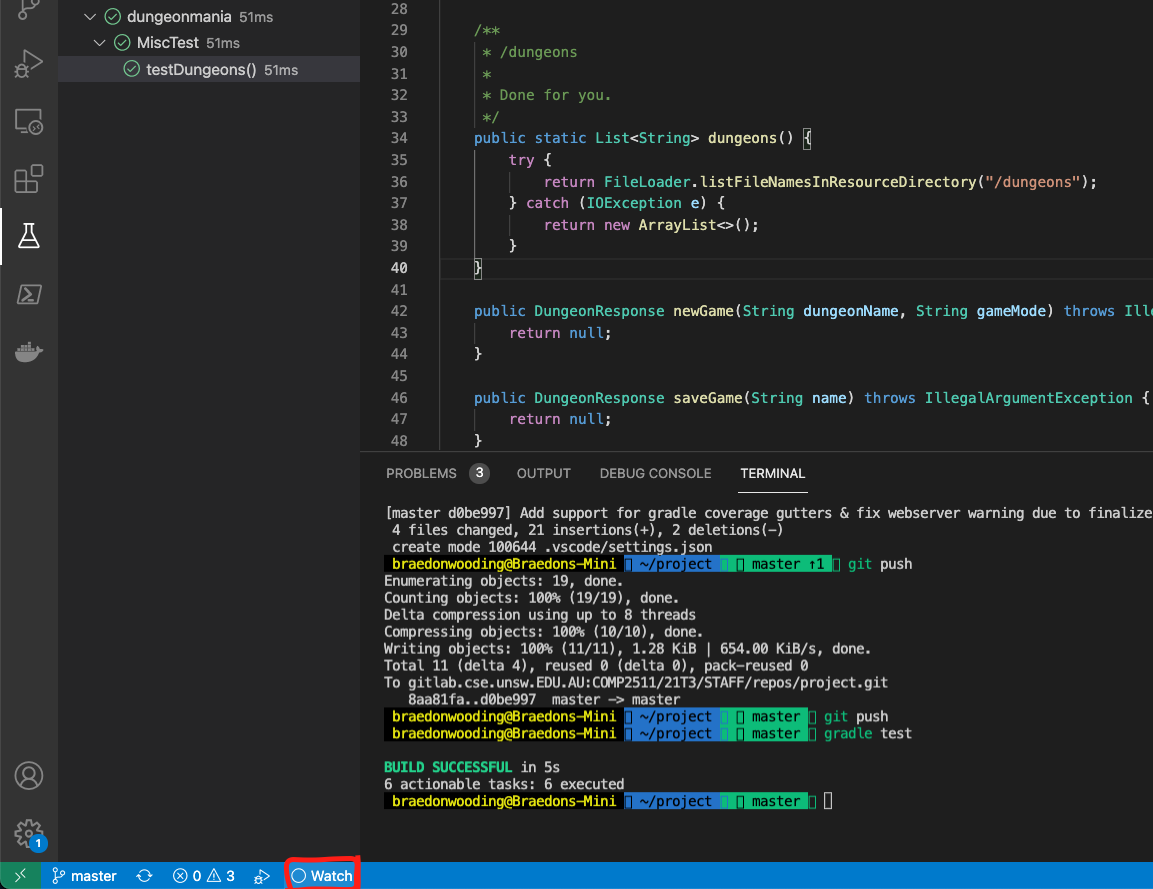
1.5. How to test?
Section titled “1.5. How to test?”You can either run gradle test or go to the test file and click the run test button that’ll appear to the left of the icon.

How to debug tests? You just have to right click and then click debug test.
1.6. Resources
Section titled “1.6. Resources”For running the frontend locally, you will need to place your dungeons and configurations inside src/main/resources/. If you want your resources to be accessible via Gradle and your JUnit tests then you will need to put them in src/test/resources.
The FileLoader class we have provided you with will load the resources from the correct directory automatically.
1.7. Recompiling the Frontend Locally
Section titled “1.7. Recompiling the Frontend Locally”The frontend is simply some compiled JavaScript served as a static resource out of the main/resources/app folder.
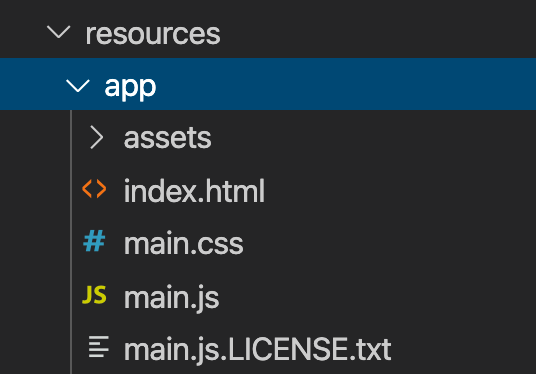
You will need to install Node.js if you do not already have it installed on your machine.
To recompile the frontend:
cd client # Go into the client directorynpm install # Install required librariesnpm run build # Compile the frontend codeYou will see a folder called dist (short for distribution, since this is what you’d use to deploy on a service like AWS) has now appeared inside client which has the exact same structure as resources/app:
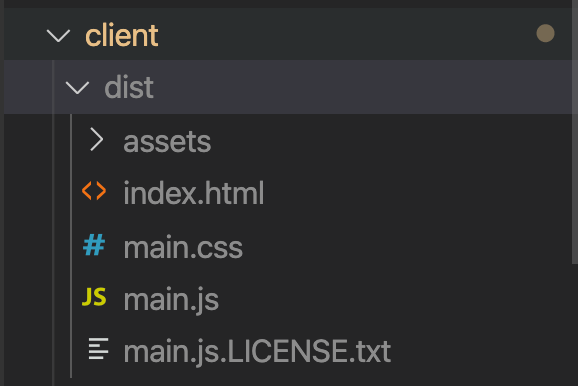
Copy and paste the contents of dist into resources/app, overwriting everything that was there before.
When you next run the frontend locally it should include your changes.
1.8. Running the Frontend locally
Section titled “1.8. Running the Frontend locally”You can run the frontend locally by pressing the ‘Run’ button on the main method of App.java file. This will start the frontend and connect it to your backend.
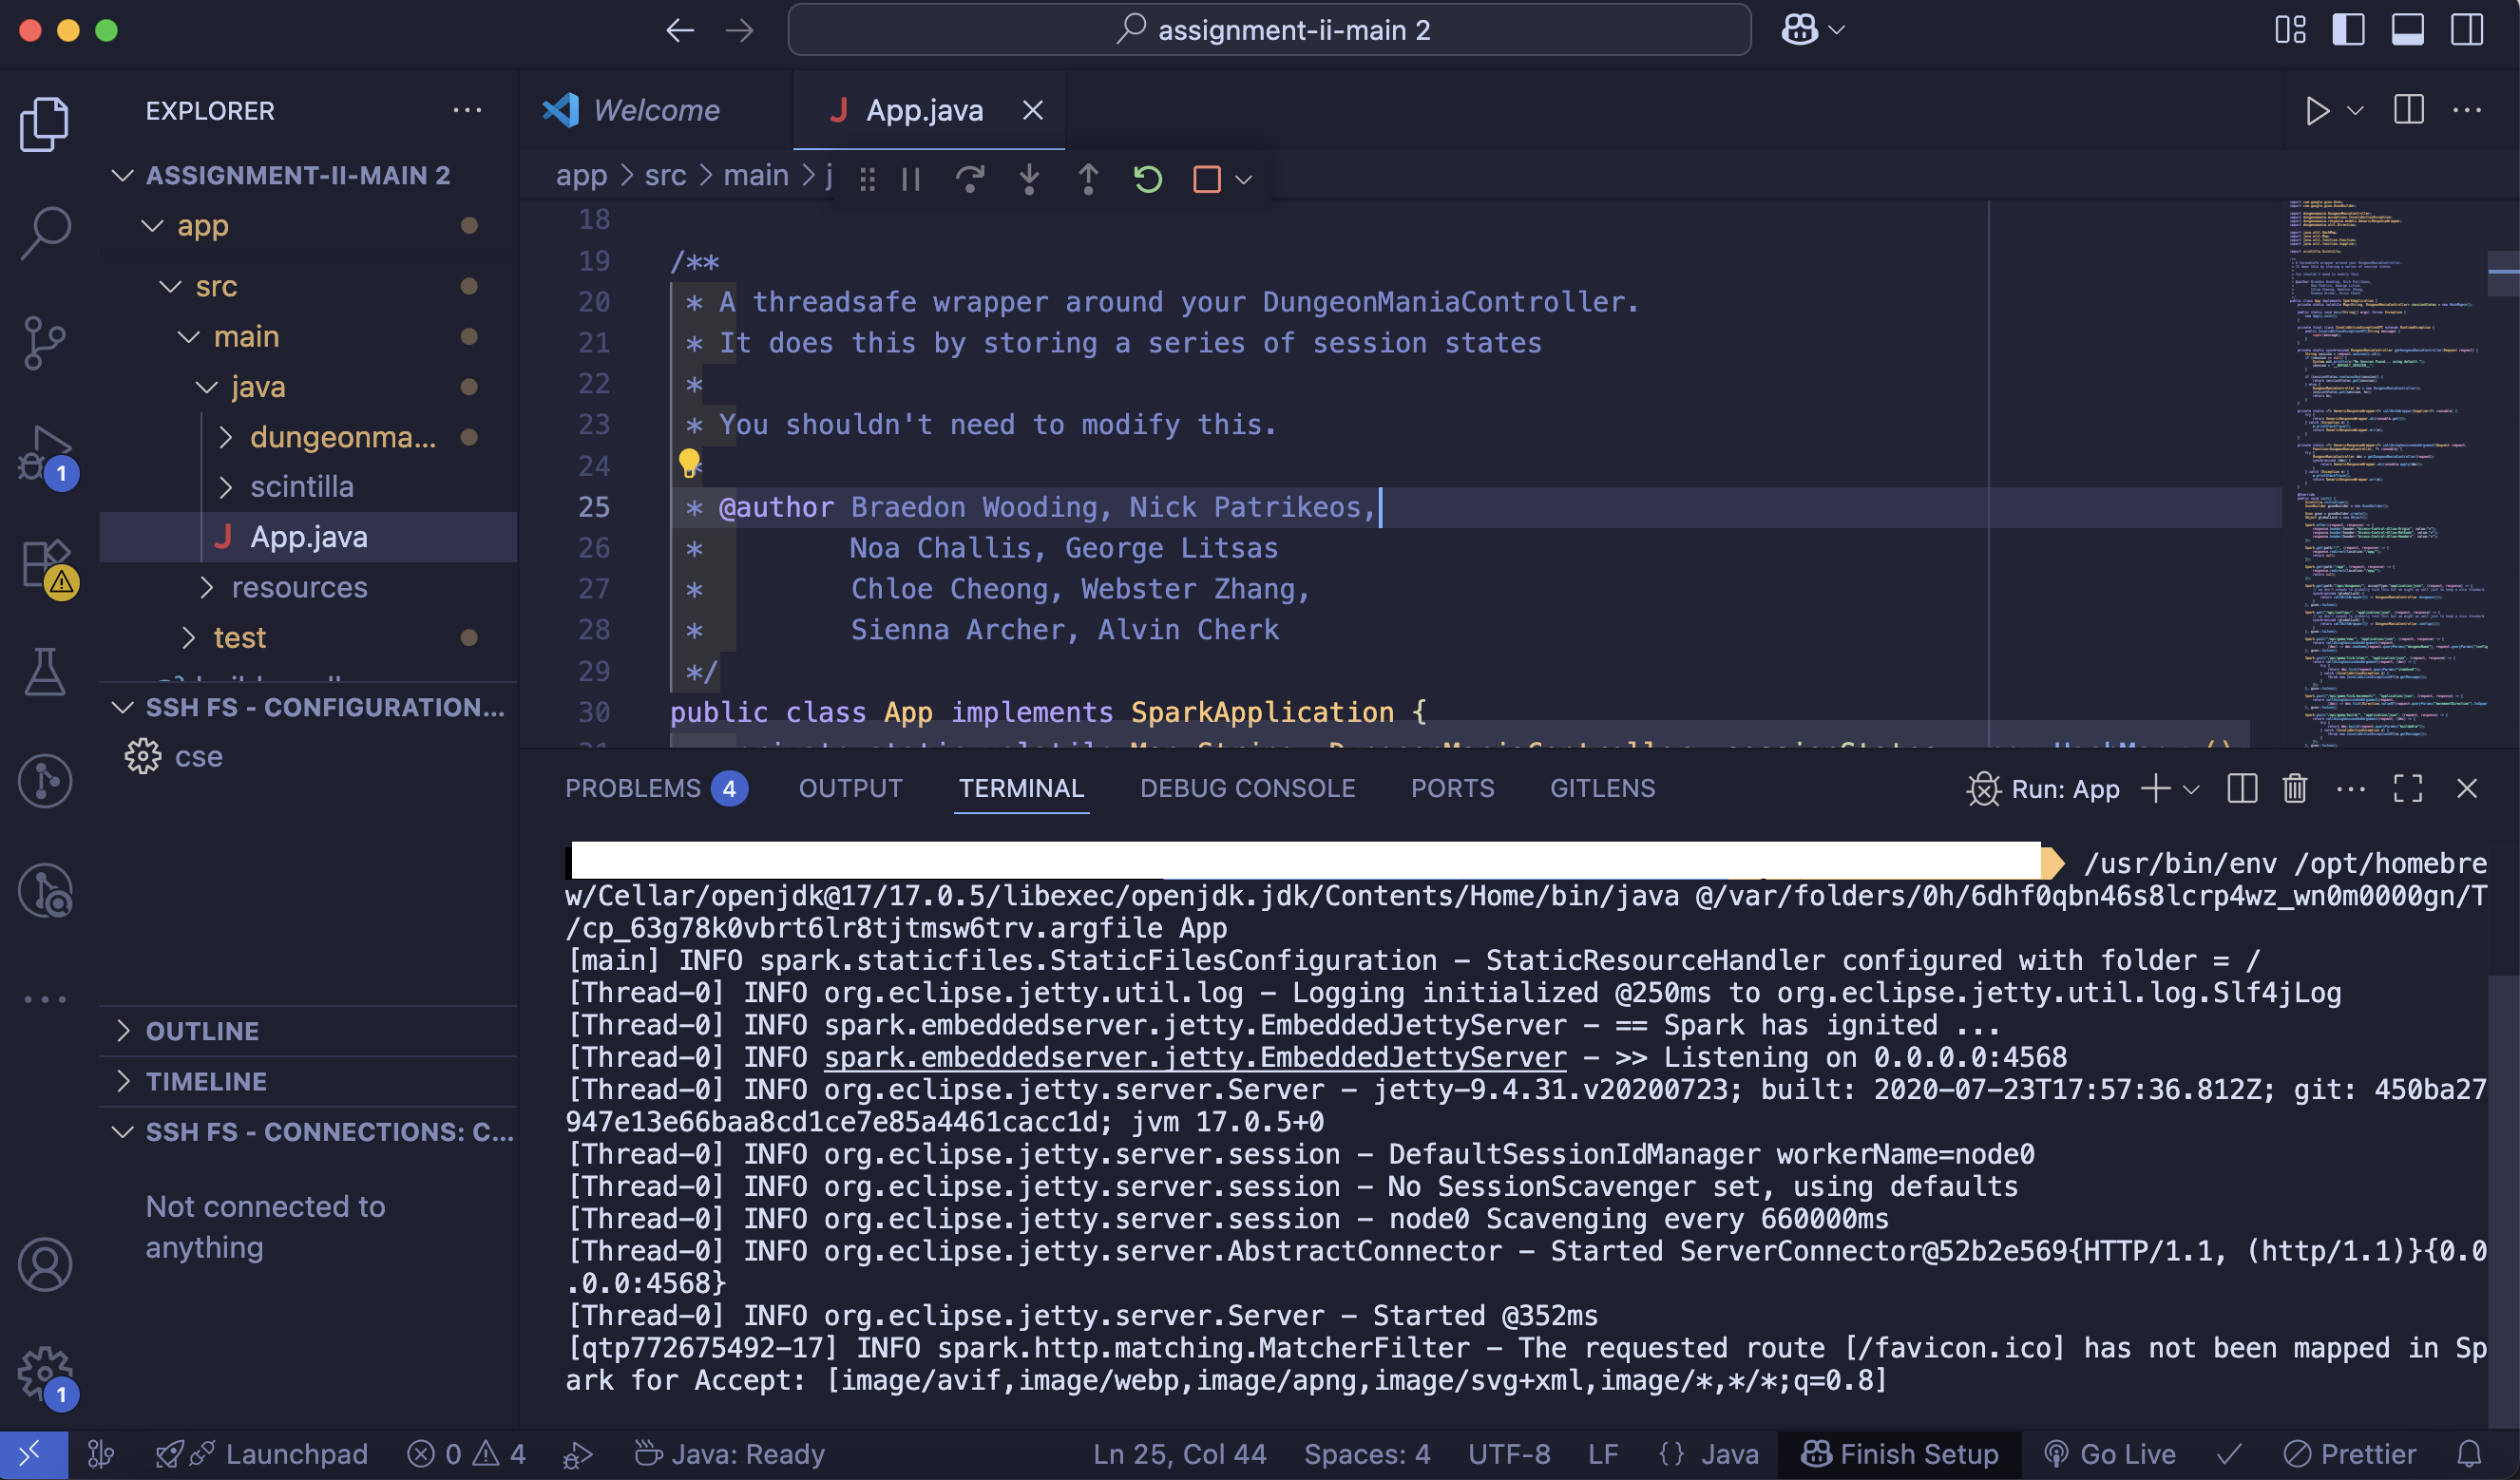
This opens up a web page in your browser with the frontend.
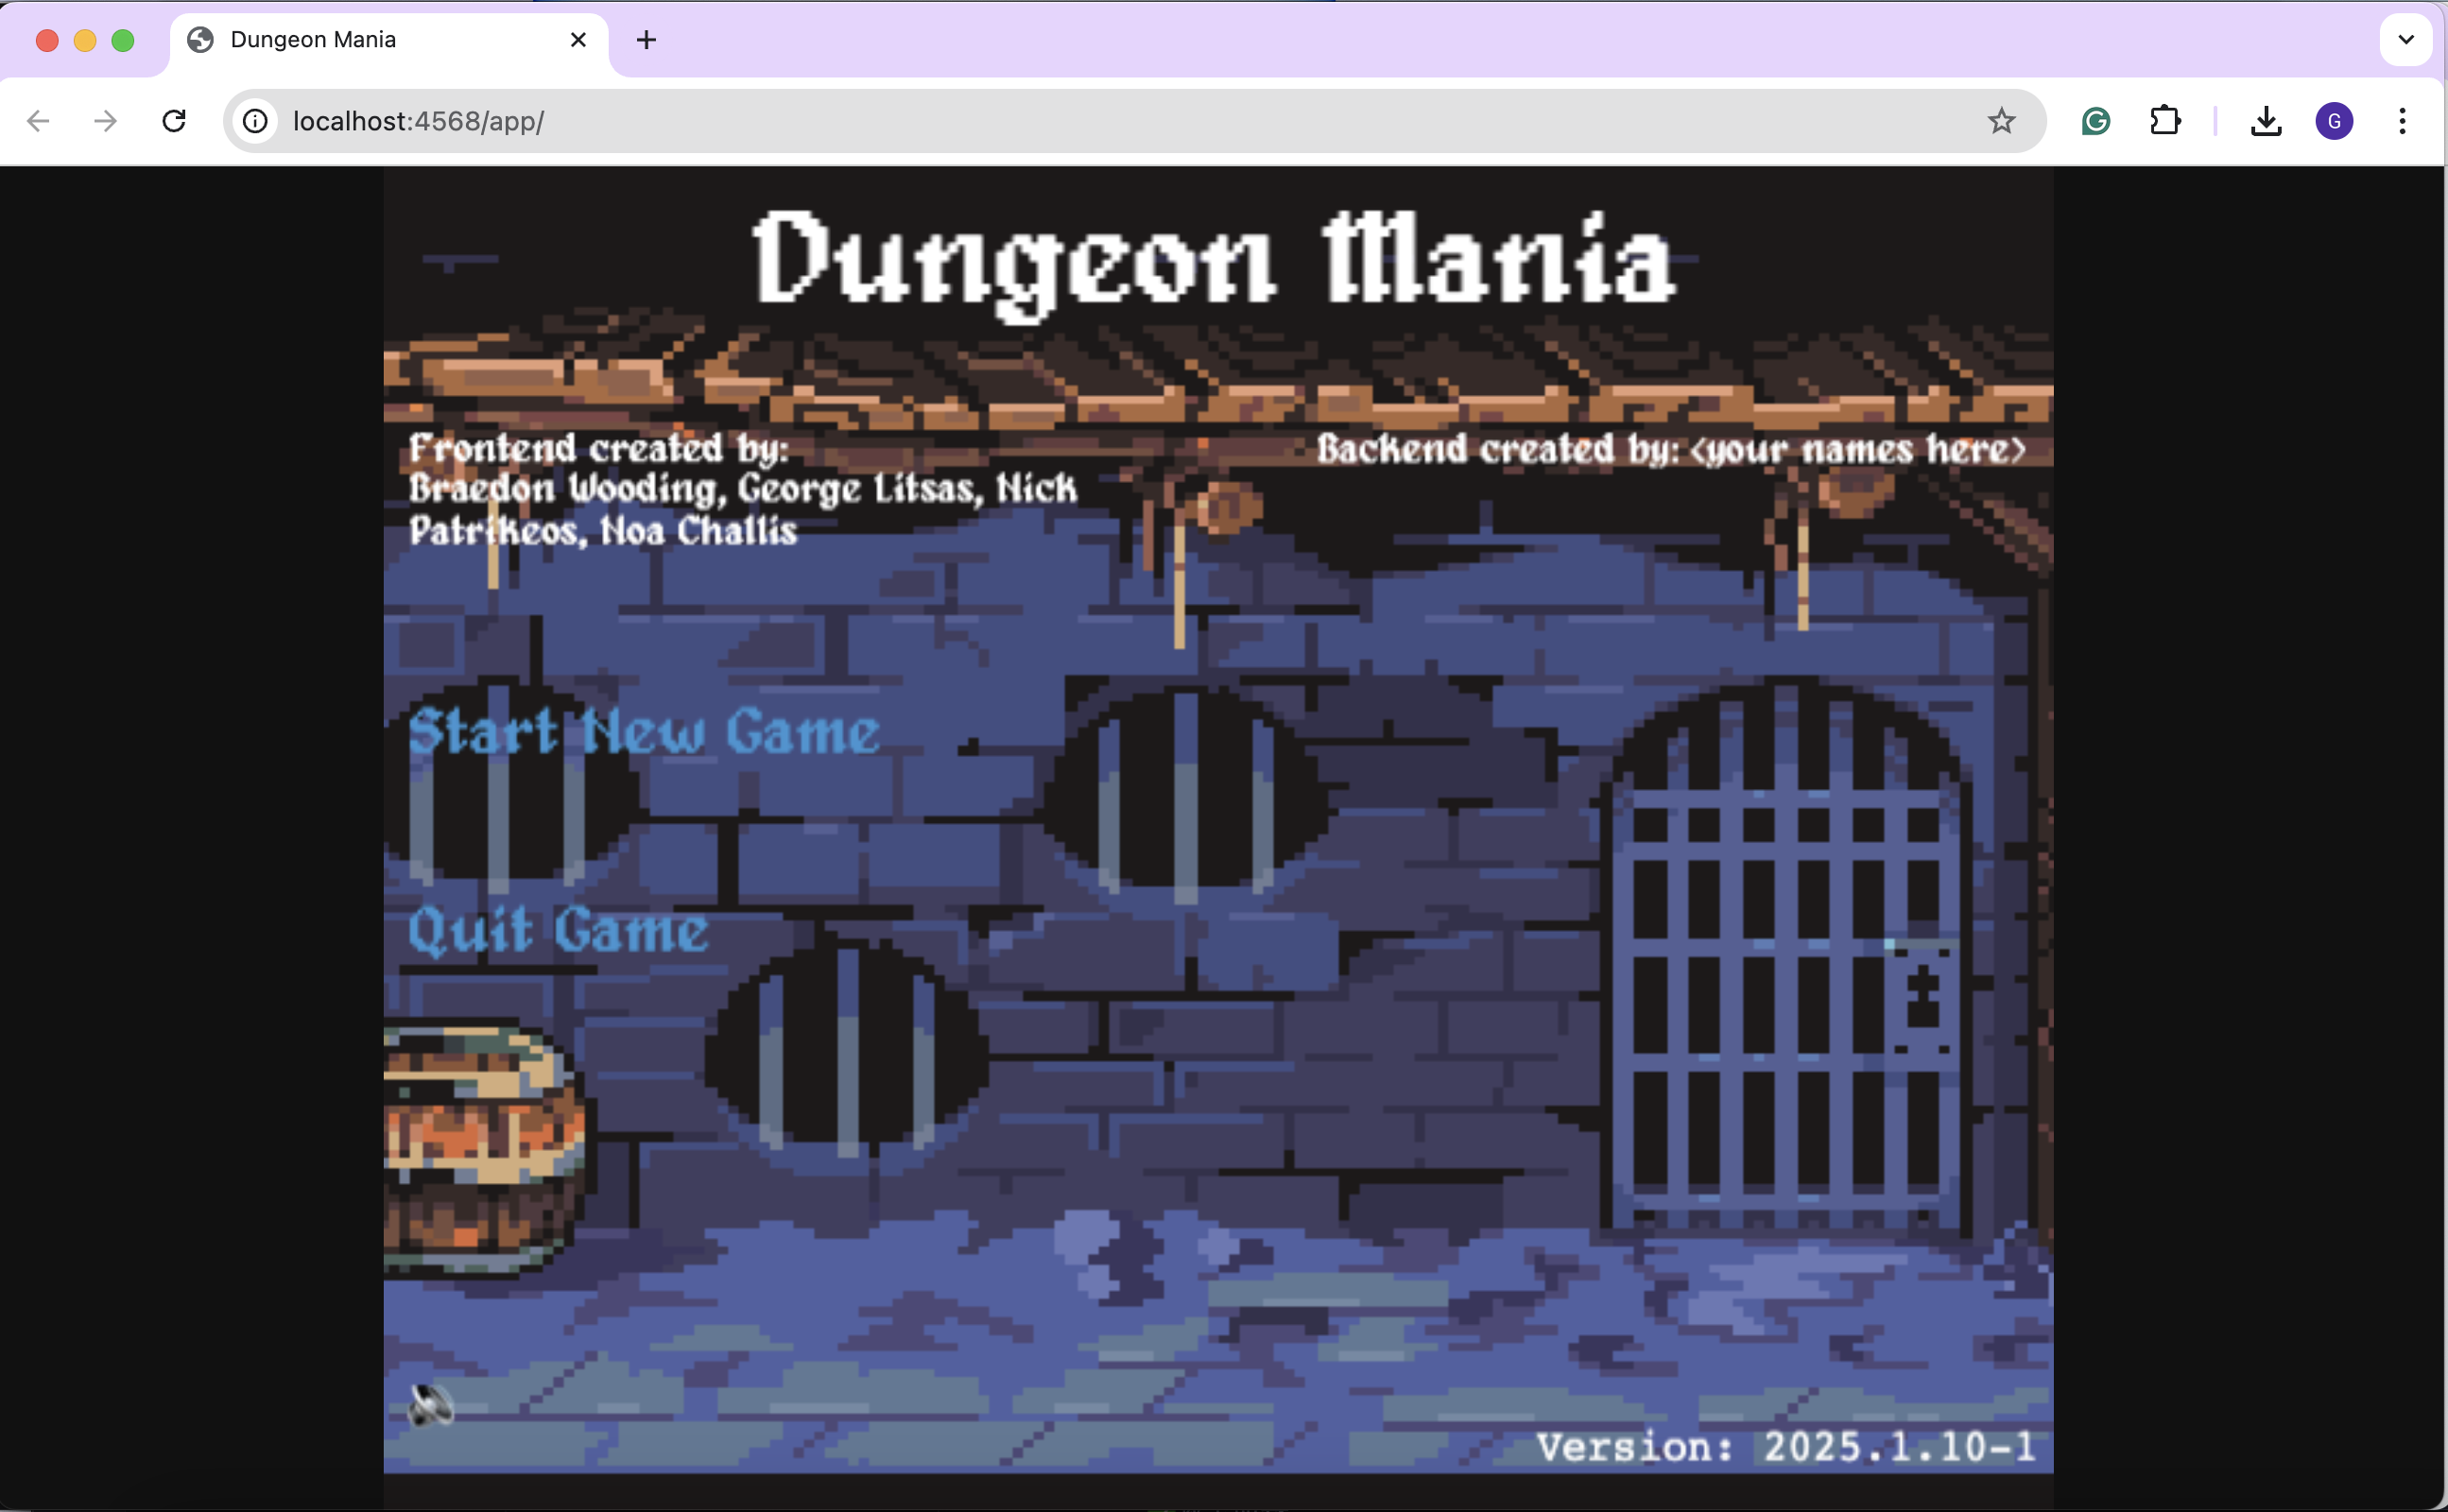
Note that the frontend is purely a visualisation tool used to help you with testing your backend’s behaviour. It must not be used as the sole instrument for your testing.